
Content
Why Make Your Own Bath Melts?
Store-bought bath melts can be lovely, but often come with a premium price tag. Crafting them at home offers several advantages:- Cost-Effective: Buying raw ingredients in bulk is much cheaper in the long run than purchasing individual melts.
- Customization: You control everything! Choose your favorite butters (like cocoa, shea, or mango), carrier oils, essential oils for scent and aromatherapy benefits, and even add botanicals like dried flower petals or natural colorants.
- Ingredient Quality: You know exactly what’s going into your melts, ensuring they are free from unwanted additives or preservatives. You can select high-quality, natural, or organic ingredients if you wish.
- Great Gifts: Homemade bath melts, packaged beautifully in small jars or boxes, make thoughtful and luxurious gifts for friends and family.
- It’s Fun!: The process itself is enjoyable, like a mini science experiment combined with creative expression.
Gathering Your Supplies: What You’ll Need
Before you begin melting and mixing, gather your ingredients and equipment. Precision isn’t always critical as with soap making, but measuring helps ensure consistency.Ingredients:
- Hard Butter (Approx. 50-60%): This forms the solid base. Cocoa butter is a classic choice due to its hardness and lovely subtle scent. Shea butter is another excellent option, known for its creamy moisturizing properties. Mango butter is a good alternative too.
- Solid-at-Room-Temp Oil (Approx. 20-30%): Coconut oil is a popular choice here. It adds extra moisturizing benefits and helps achieve the right melting point. Ensure you’re using standard coconut oil that is solid below 76°F (24°C), not fractionated coconut oil.
- Liquid Carrier Oil (Approx. 10-20%): This helps to soften the melt slightly and adds extra skin benefits. Good choices include sweet almond oil, jojoba oil, olive oil, grapeseed oil, or apricot kernel oil.
- Essential Oils or Fragrance Oils (Approx. 1-2%): For scent. Use cosmetic-grade essential oils (like lavender, chamomile, orange, peppermint) or skin-safe fragrance oils. Calculate the amount based on the total weight of your butters and oils. Start with less; you can always add more.
- Optional Add-ins: Dried botanicals (lavender buds, rose petals, calendula petals – use sparingly as they need to be strained from the tub later), cosmetic-grade mica powder for color, or Vitamin E oil (a few drops act as an antioxidant).
Equipment:
- Digital Kitchen Scale: For accurately measuring ingredients by weight (recommended for consistency).
- Double Boiler or Makeshift Version: A heatproof bowl (glass or stainless steel) set over a saucepan containing a few inches of simmering water. Do not let the bottom of the bowl touch the water.
- Silicone Molds: Small molds work best. Ice cube trays, candy molds, or small muffin liners (silicone is easiest for removal) are ideal. Choose shapes that appeal to you!
- Stirring Utensil: A small spatula or whisk.
- Measuring Spoons: For essential oils and optional add-ins.
- Pipette (Optional): Useful for adding essential oils accurately.
- Clean Workspace & Protective Covering: Protect your counters from potential spills.
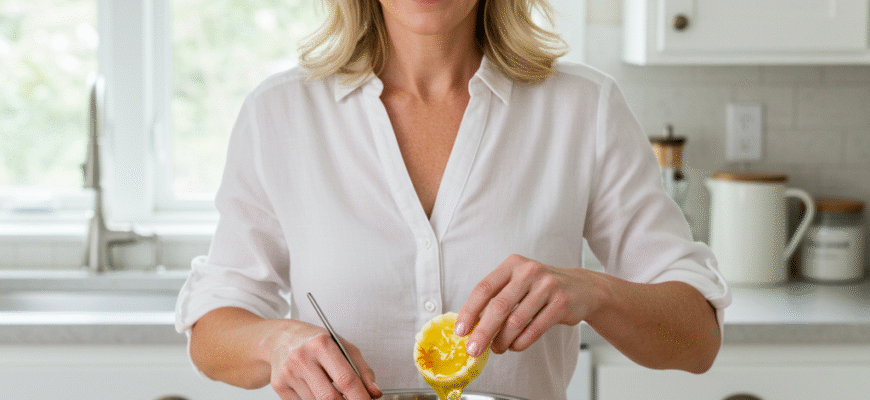
Step-by-Step Bath Melt Tutorial
Step 1: Measure Your Butters and Oils
Using your digital scale, carefully weigh out the hard butter(s), solid coconut oil, and liquid carrier oil according to your chosen ratio. For a small batch (making maybe 6-10 small melts depending on mold size), you might start with something like: 50g cocoa butter, 25g coconut oil, and 15g sweet almond oil. Precision helps, but slight variations are okay. Place the hard butter(s) and solid coconut oil into your heatproof bowl.Step 2: Gently Melt the Ingredients
Create your double boiler setup. Place the heatproof bowl containing the butters and solid oil over the saucepan with simmering water. Heat gently, stirring occasionally. The goal is to melt the ingredients slowly and evenly. Avoid overheating, as high temperatures can degrade the quality of the butters and oils. Remove the bowl from the heat as soon as everything is *just* melted.Step 3: Add Liquid Oil and Cool Slightly
Once the butters and solid oil are melted and combined, remove the bowl from the heat source. Stir in your measured liquid carrier oil. Let the mixture cool for a few minutes. It should still be liquid but not piping hot. This prevents the more volatile essential oils from evaporating too quickly when added.Step 4: Incorporate Scents and Optional Extras
Now is the time to add your essential oils or fragrance oils. Add the drops carefully, stirring well to combine. If you’re using mica for color, add a tiny amount (a little goes a long way!) and stir until fully dispersed. If adding dried botanicals, stir them in now. Remember that botanicals will float in the bath and need cleaning up afterwards, so use them judiciously.Important Safety Note: These bath melts contain a significant amount of oil and butter. While luxurious for the skin, they can make your bathtub extremely slippery during and after use. Exercise caution when entering and exiting the tub. It’s also wise to give the tub a good clean after your bath to remove any oily residue.
Step 5: Pour Into Molds
Carefully pour the liquid mixture into your chosen silicone molds. If you added botanicals, you might need to gently distribute them evenly among the molds using your spatula or a small spoon. Work relatively quickly before the mixture starts to solidify, especially if your room is cool.Step 6: Cool and Harden
Leave the molds undisturbed at room temperature for several hours until the bath melts are completely solid. To speed up the process, you can place the molds in the refrigerator for 30-60 minutes. Avoid the freezer, as freezing can sometimes cause cracking or affect the texture. Once fully hardened, they should pop easily out of the silicone molds.Tips for Perfect Bath Melts
- Temperature is Key: Don’t overheat your oils and butters. Melt gently and allow the mixture to cool slightly before adding essential oils.
- Mold Choice Matters: Silicone molds are highly recommended because they are flexible, making it easy to remove the hardened melts without breaking them.
- Scent Strength: Start with a lower amount of essential/fragrance oil (around 1%) and do a small ‘smell test’. You can always melt the batch down gently again (if needed, before it fully hardens) and add more scent, but you can’t take it away.
- Botanical Beauty vs. Cleanup: Dried flowers look stunning but mean extra tub cleanup. Consider grinding them into a fine powder for less mess or using them very sparingly. Alternatively, place the bath melt inside a small muslin or organza bag before dropping it in the tub to contain the botanicals.
- Storage: Keep your finished bath melts in an airtight container in a cool, dark place. Because they contain no water, they have a relatively long shelf life (determined by the shelf life of your oils, usually 6-12 months), but excessive heat can cause them to soften or melt. Storing them in the fridge during hot weather is a good idea.
- Experiment!: Don’t be afraid to try different butter combinations (like half cocoa, half shea) or oil blends. This basic recipe is a starting point for your creativity.


